Getting Started with the DEVKIT-S12VRP | NXP Semiconductors

Getting Started with the DEVKIT-S12VRP

Last Modified: 2023-02-28 15:28:00Supports S12VRP Relay-based Motor Control Evaluation Board
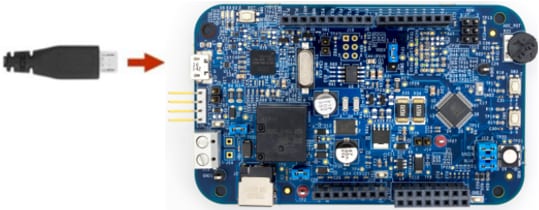
Contents of this document

  • 1

    Plug it In
  • 2

    Get Software
  • 3

    Create, Build and Debug

1. Plug it In

Let's take your DEVKIT-S12VRP for a test drive!

1.1 Attach the USB Cable

1.2 Run the Out-of-Box Demo

Your DEVKIT-S12VRP comes pre-loaded with a simple code example that is switching the color of the LED.

2. Get Software

Choose a Development Path:

2.1 Jump Start Your Design by downloading Quick Start Package

Download DEVKIT-S12VRP Quick Start Package

2.2 Install Your Toolchain

Download and install CodeWarrior v5.2. CodeWarrior Development Studio for NXP HCS12 Microcontrollers enable you to build and deploy HCS12 or HCS12X/XGATE systems quickly and easily.

Download CodeWarrior v5.2

2.3 PC Configuration

Once you connected your DEVKIT-S12VRP to your PC, the drivers of your board will start to installed, please wait while are installed and do not unplug it.

3. Create, Build and Debug

Learn how to create a new project in CodeWarrior v5.2 and the basics to create your own code by running an easy example code.

3.1 Create, Build and Debug your Application

Open CodeWarrior v5.2, create a new project for your device and follow the steps to create a new project in your workspace and load the configuration for your target device.

3.2 Explore the Example codes

Open your Quick Start Package and you will find some example codes that you can use it for reference.