Getting Started with the S32K3 Automotive Telematics Box (T-Box)
Last Modified:
2022-07-18 14:00:27Supports
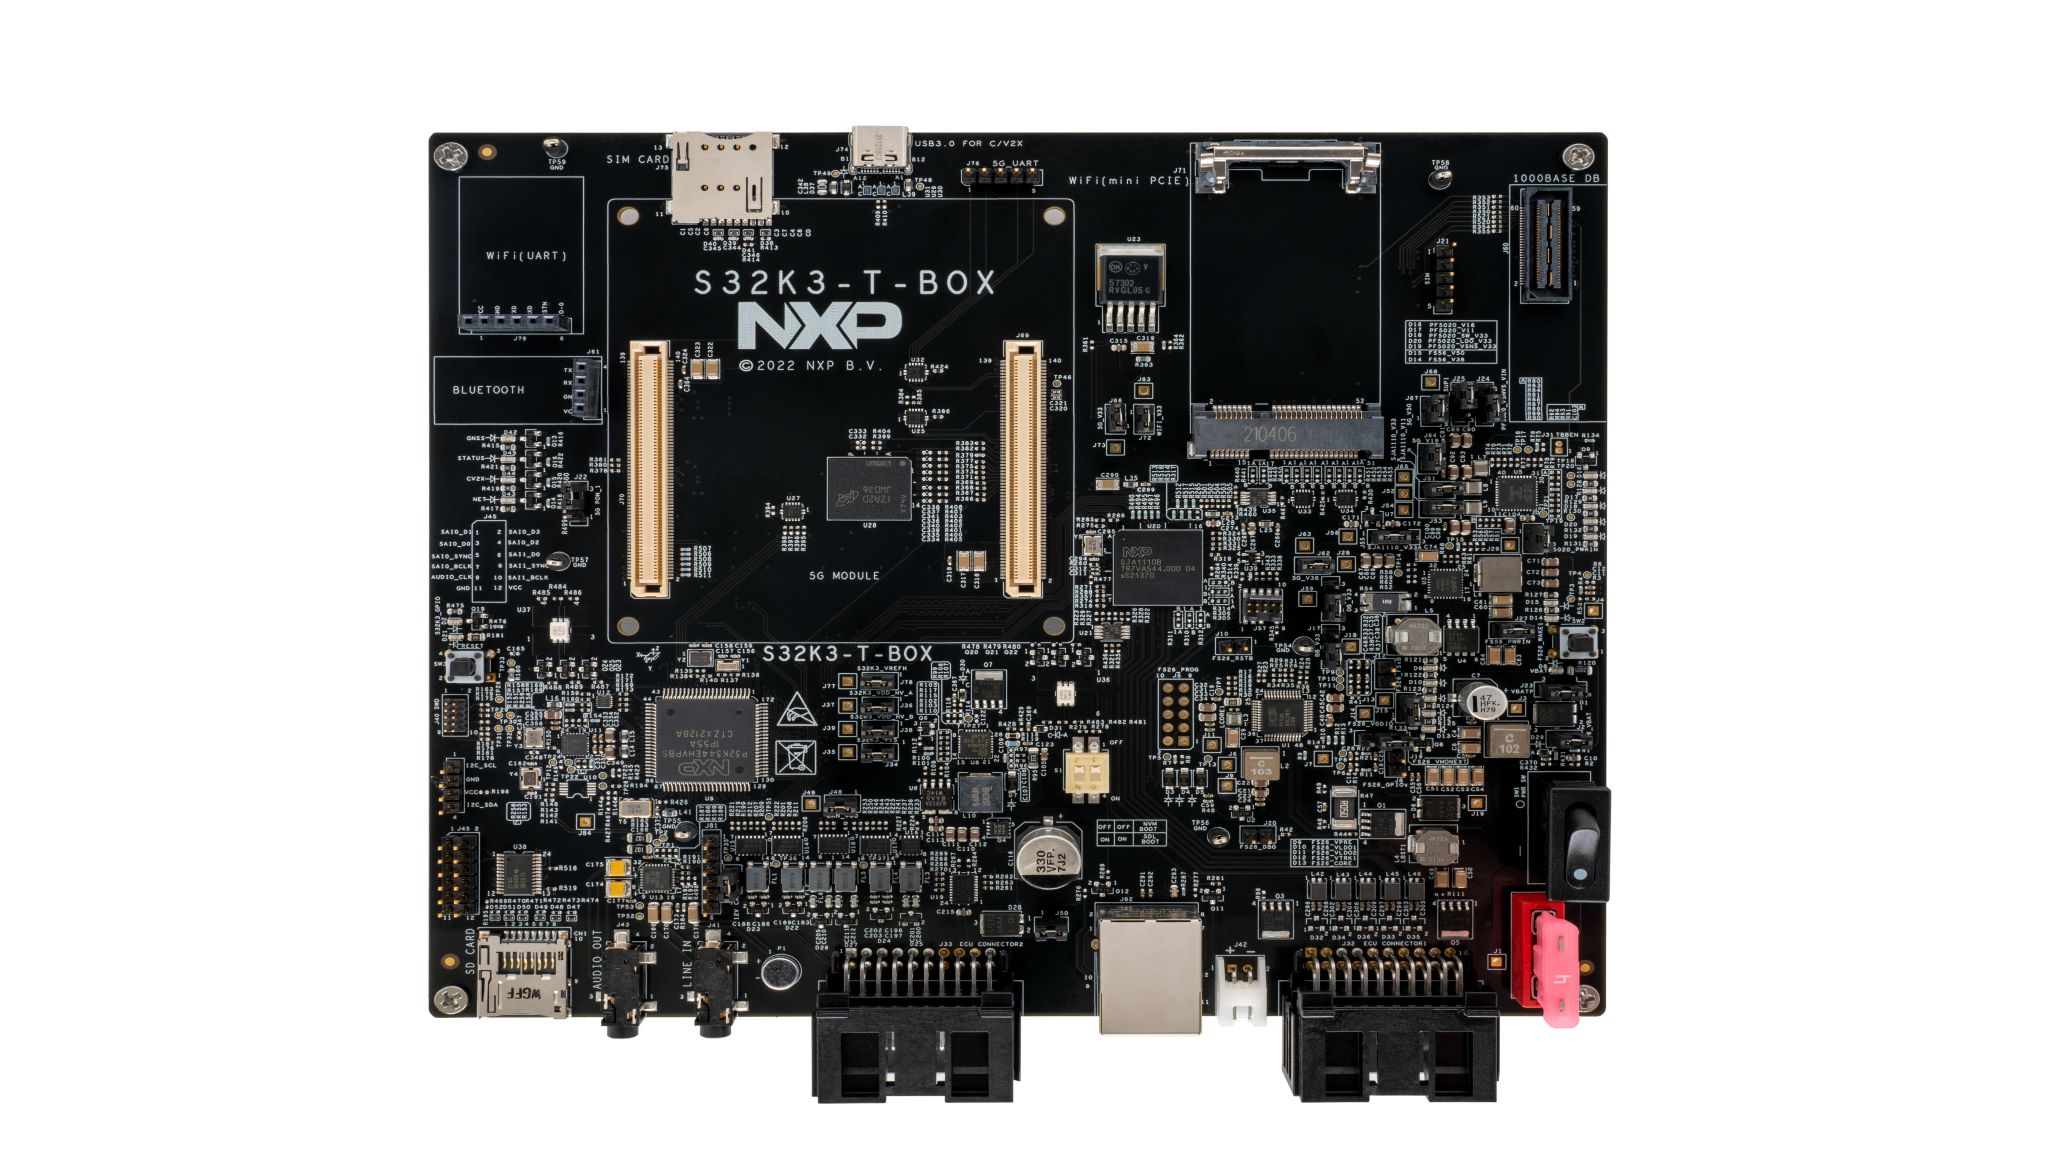
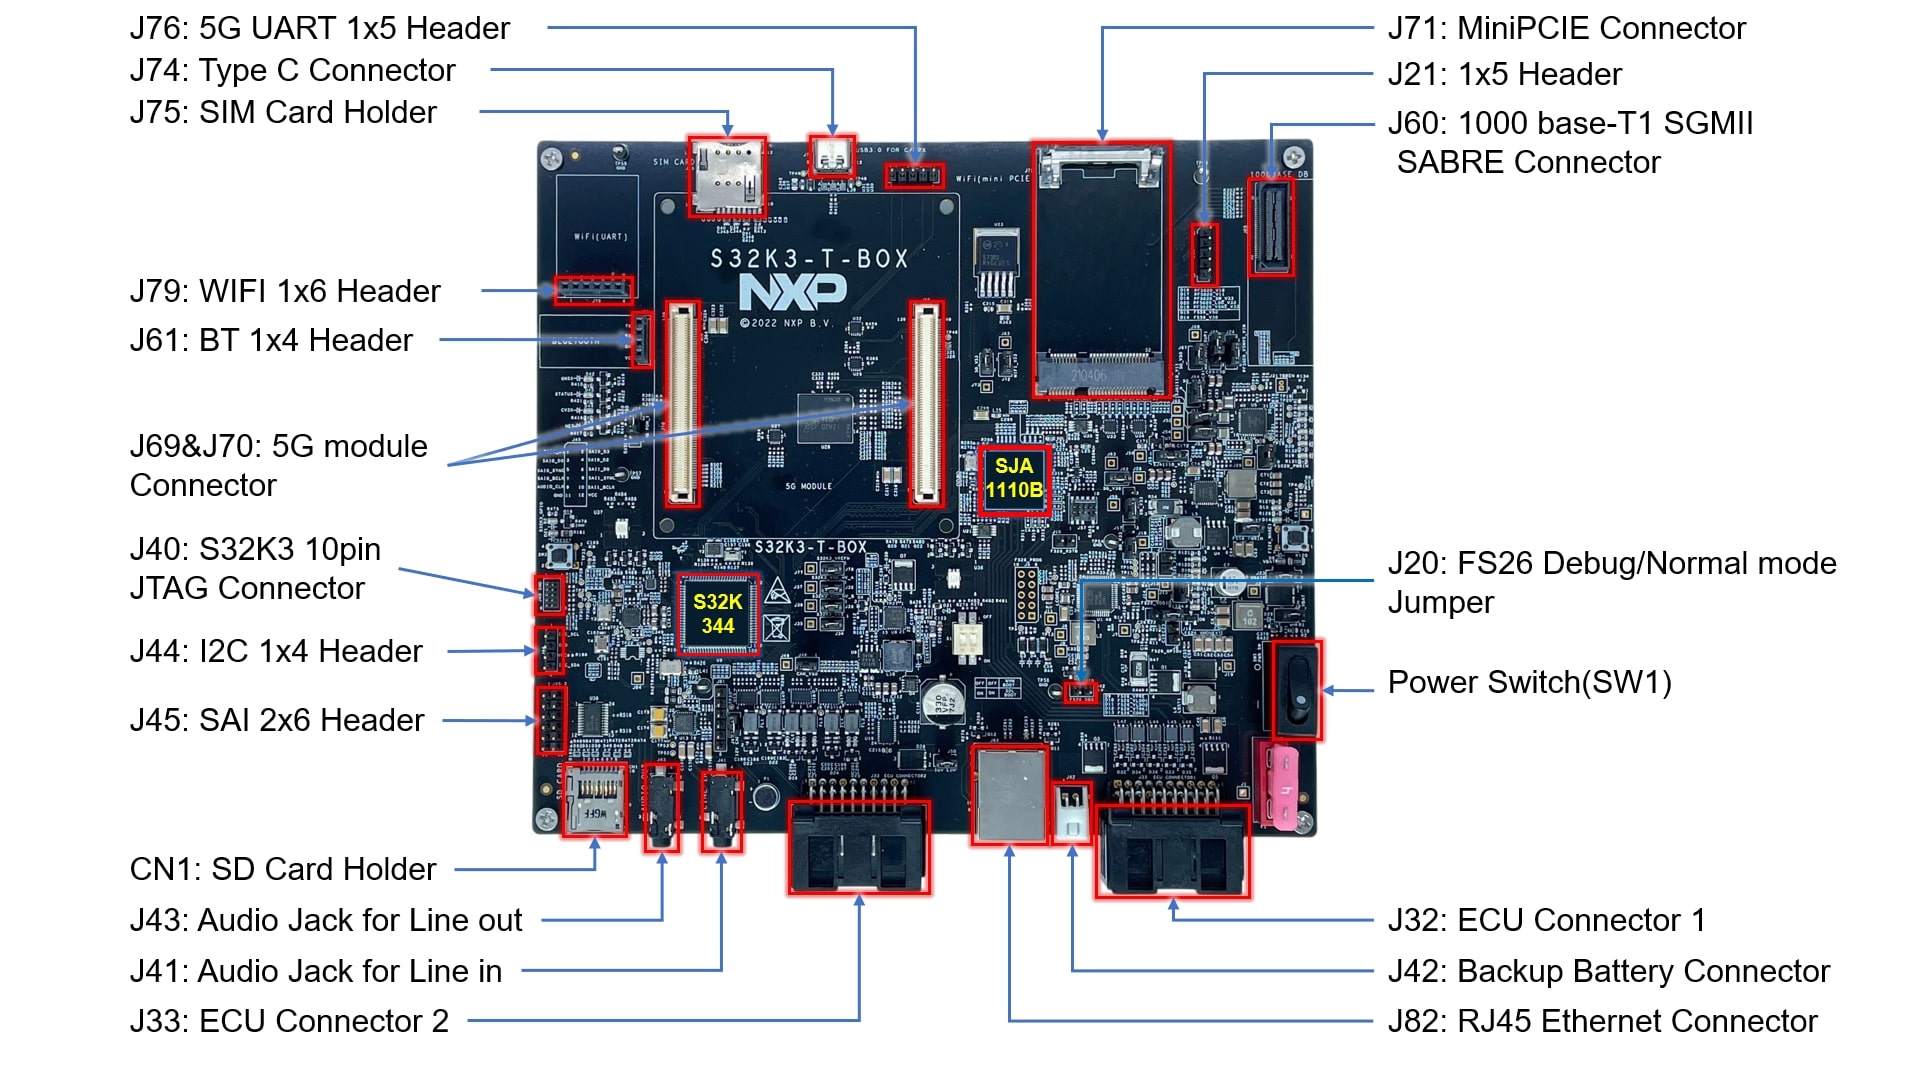
S32K3 Automotive Telematics Box (T-Box) Reference Design Board
Contents of this document
-
Out of the Box
-
Get Software
-
Plug it In
-
Run the Example
Sign in to save your progress. Don't have an account? Create one.
Purchase your S32K3 Automotive Telematics Box (T-Box) Reference Design Board

2. Get Software
2.1 Get the Integrated Development Environment (IDE)
Download and install S32 Design Studio IDE for S32 Platform.
DOWNLOAD S32 DESIGN STUDIO IDE
2.2 Download and Install Real-Time Drivers for S32K3
Download and install the .exe file of the S32K3 real-time drivers for Cortex-M from the S32K3 standard software package.
DOWNLOAD S32K3 STANDARD SOFTWARE PACKAGE

3. Plug it In

4. Run the Example
4.1 Run Your S32K-T-BOX Reference Design Board
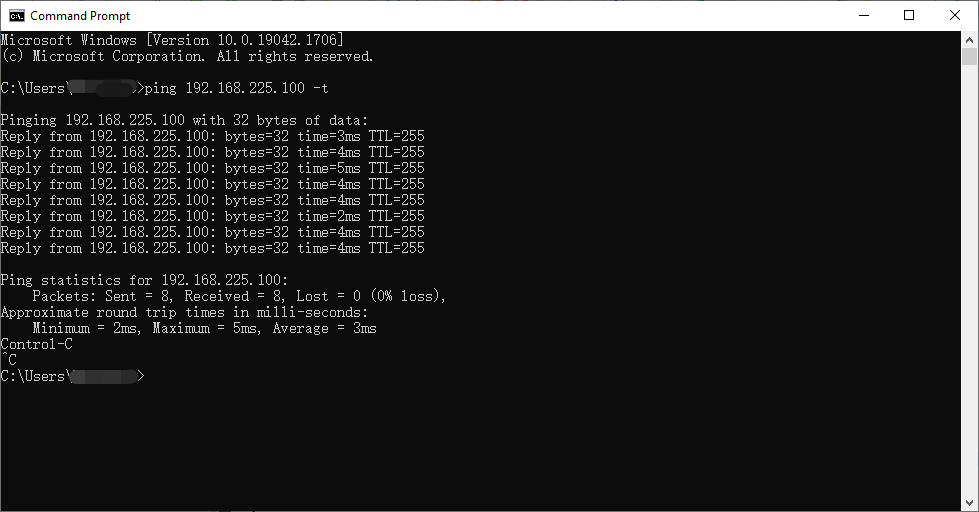
The S32K3-T-BOX is loaded with the LWIP example firmware by default.
Connect the S32K3-T-BOX RJ45 port to the PC with Ethernet cable.
Set the IP address to 192.168.225.xxx, which is the same network segment with S32K344 EMAC(192.168.225.100).

Open the terminal to ping 192.168.225.100, you should be able to see the the reply, showing that the example works.
Design Resources
Software
- How To Use the Automotive Software Package Manager
- Real-Time Drivers (RTD)
- S32K Power Estimation Tool (PET)
- S32 Safety Software Framework (SAF) and Safety Peripheral Drivers (SPD)
- S32 Design Studio for S32 Platform
- FreeMASTER Run-Time Debugging Tool
- FME Calculator
- Structural Core Self-Test (SCST) Library
- Model-Based Design Toolbox (MBDT)
- S32K3-T-BOX Reference Design - BSPs, Drivers and Middleware
- S32K3-T-BOX Reference Design LWIP Example Code for S32K3 - Code Snippets
- S32K3-T-BOX Reference Design LWIP Example Code for SJA1110 - Code Snippets