Getting Started with the K32W061
Contents of this document
-
Plug It In
-
Get software
-
Build, Run
Sign in to save your progress. Don't have an account? Create one.

Purchase your K32W061/41 Development Kit | Wireless MCU
1. Plug It In
1.1 Attach the USB Cable
Let's take your K32W board for a test drive. You have the choice of watching the sequence in a short video or following the detailed actions list below.

The green light on the PN7150 NFC control shield will blink once powered.
1.2 Collaterals Package Download
The FTDI driver allows the board to communicate with your PC.
The ZGWUI.exe file is used to setup the ZigBee network. It is available from the JN-AN-1247-ZigBee-3-0-ControlBridge package (folder AN1247\Tools\TestGUI\Source\bin\Debug).
1.3 Start your network
On your PC, open the Zigbee Gateway User Interface (ZGWUI) by double clicking on the executable file ZGWUI.exe.

a. Click on the 'Settings menu: select the COM port connected to the control bridge and click on 'OK'.
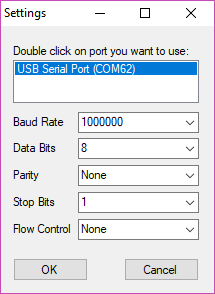
b. Click on 'Open Port' menu (button state changes to 'Close port')
c. Click on 'Start NWK', you can see at the bottom left of the ZGWUI window the raw data and bottom right the received message log
1.4 Commission the network via NFC
- Connect the light node to a PC USB port
- Tap the NFC antenna of the light node on the NFC antenna of the control bridge:
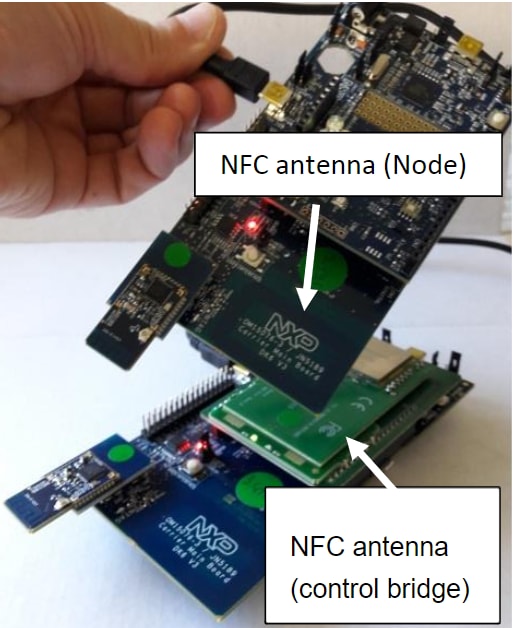 The green LED on the NFC reader shield blinks more quickly during commissioning and then returns back to its initial state. The node is then commissioned
 - Repeat step 1 and 2 with the generic switch node
- The 2 nodes are present on 'Discover Devices' tab of the ZGWUI:
Click on 'Discover devices' button, there are 2 short addresses listed standing for the 2 nodes:
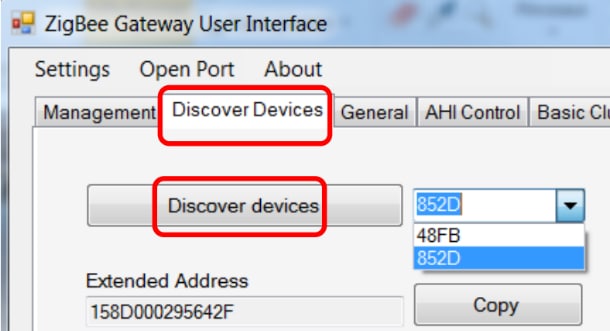
In case none or only one short address is present but not 2, redo the commissioning nodes from step 2.
1.5 Controlling the Light from the Generic Switch Node
- Bind the generic switch node to the light node as follows:
- Light node: Press and release the USER INTERFACE button. The 3 white LEDs will start to flash.
- Generic switch node:
- Press and release SW1
- Hold down the USER INTERFACE button:
- Once LED D1 starts flashing on the generic switch node, press and release the SW2 button
- Release the USER INTERFACE button only when the light node LEDs stay ON
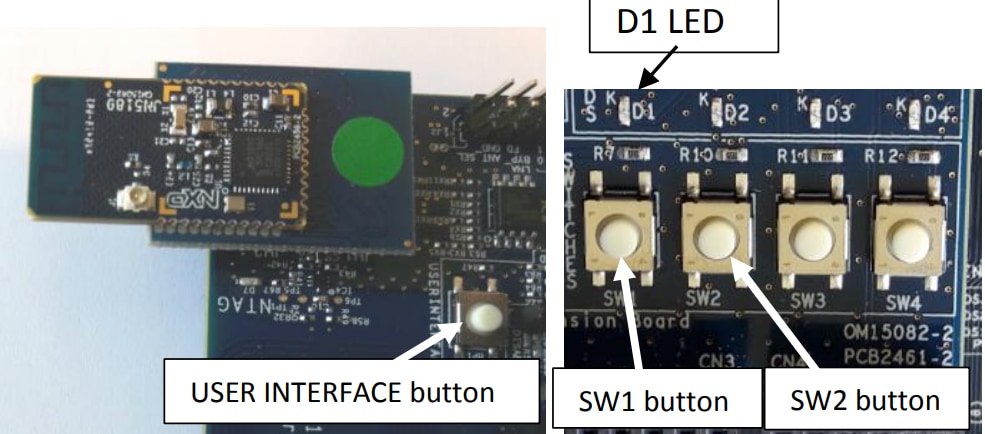
- Experiment with the buttons SW1 to SW4 to control the white LEDs on the Light node, as follows:

2. Get software
2.1 Download MCUXpresso SDK with Connectivity Software
Want to learn about SDKMCUXpresso SDK for the K32W integrates the MCUXpresso Software Development Kit with all the wireless connectivity stacks required to develop your solution with ZigBee/BLE.
Click below to download a pre-configured SDK release for the K32W that includes the wireless connectivity ZigBee/BLE stack for the K32W.

Extract the contents of the download SDK zip and locate the flash programmer installer (SDK_X.X.X_K32W061DK6\tools\JN-SW-4401-DK6-Flash-Programmer). Add the installation location to your system path.
2.3 Install Python 3.8
The K32W bootloader requires an image signature to verify the validity of a binary image. The image signing tool requires a Python install to exist on the PC. Download and the latest install Python 3.8 and add it to your system path. Then in a terminal window enter pip install pycryptodome to install the library.
3. Build, Run
3.1 Get software
The K32W Wireless Connectivity Stack comes with a list of demo applications and driver examples ready to be compiled and run.
3.2 Install the SDK
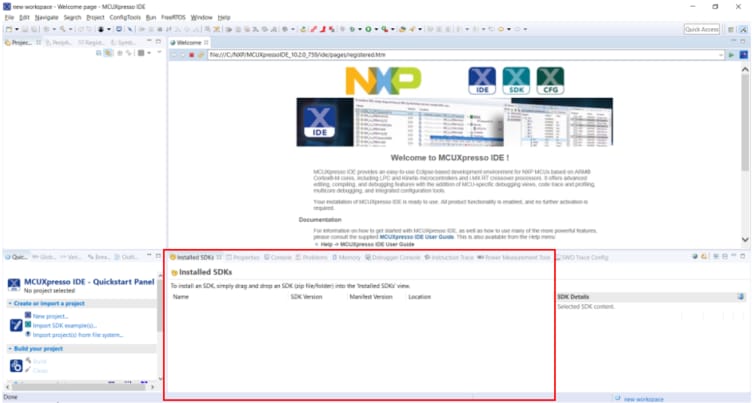
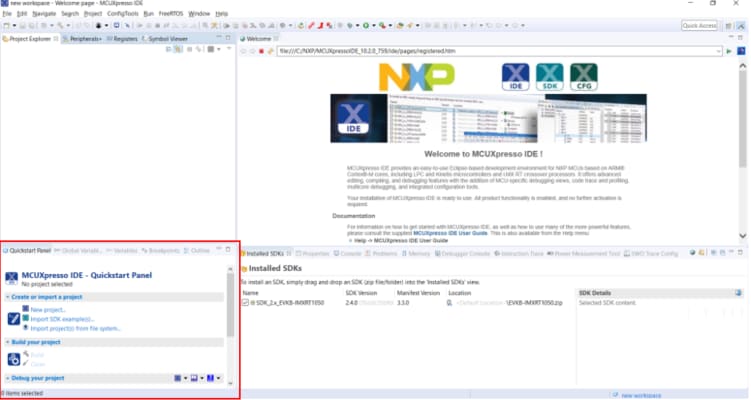
To install the SDK, open MCUXpresso and drag and drop the SDK zip file into the installed SDKs window. Confirm the installation to copy the SDK into the MCUXpresso IDE framework.
3.3 Import SDK examples
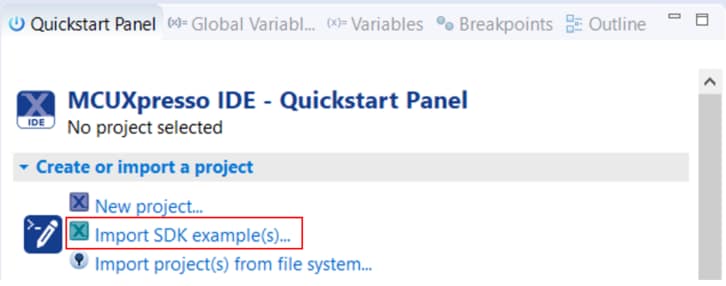
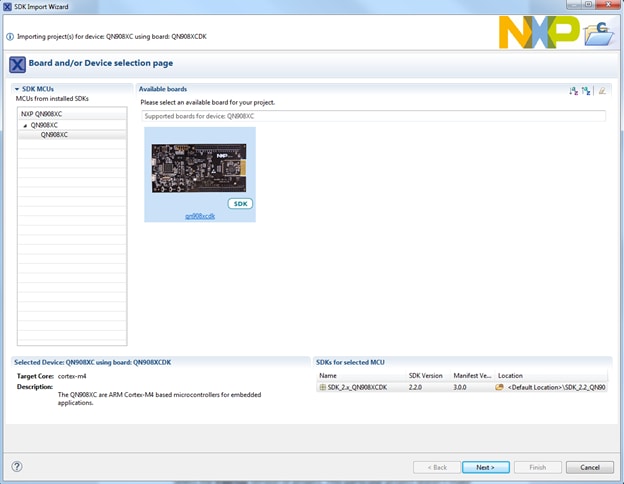
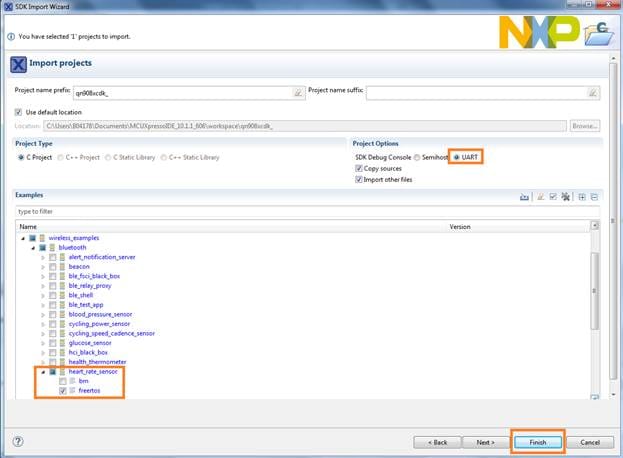
From the quickstart panel, select “Import SDK examples”, select K32W061DK6, click next and choose wireless examples. Next, choose “ble_zigbee”, “zigbee_bdt_ed_ble_beacon”, “bm” (Refer to the wireless example’s documentation to find out more information). Then click finish to import the project.
3.4 Build your project
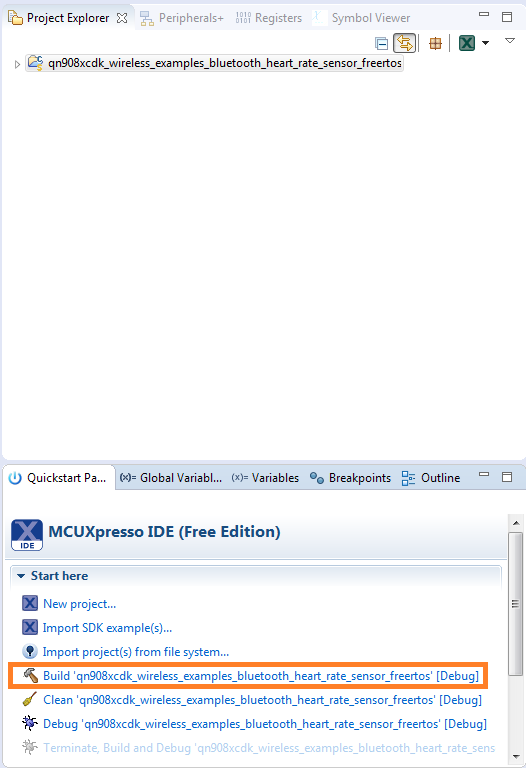
Build your imported project by selecting “Build” in the quickstart panel. Once complete, a binary file (.bin) will be generated inside the project folder under the folder called “Debug” (the name of the selected build configuration.)
3.5 Flash your device
Connect the light or switch DK6 boards to your PC. Open a terminal window in the location of your binary file (Your_MCUxpresso_Workspace\Project_Name\Debug). In your terminal window enter:
DK6Programmer -l
To list your connected COM ports. Identify the COM port of your device. then enter:
DK6Programmer.exe -V 5 -P 1000000 -s <COM_PORT> -e Flash
This will wipe the flash of the board.
Next, provision the image by flashing the PSECTOR with the following command:
DK6Programmer.exe -V5 -s <COM_PORT> -P 1000000 -w PSECT:64@0x160=004000009004010100000000000000000000000000000000000000000000000000000000000000000000000000000 00000000000000000000000000000000000
This wireless example requires a second stage bootloader. A pre-built binary for the bootloader is available inside the unzipped SDK. Under
SDK_2.6.0_K32W061DK6\boards\k32w061dk6\wireless_examples\framework\ssbl\binary. Flash the bootloader by entering:
Replace <Path to ssbl.bin> with the ssbl.bin in the SDK by dragging and dropping the ssbl.bin from an explorer window into the terminal window. Or enter the path manually. Press enter and then Y.
Flash the application image by entering the following in the terminal window and press enter then y:
DK6Programmer.exe -V5 -s <COM_PORT> -P 1000000 -p FLASH@0x4000=k32w061dk6_zigbee_bdt_ed_ble_beacon_bm.bin
The device will automatically start and try and find a ZigBee network.
3.6 Running the ZigBee app
To set up and join the device. Start the ZGWUI application and connect the control bridge device. Click Settings, select the COM port of the control bridge and open port. Set the CMSK to 12 and click CMSK. Set the Permit join state to FFFC FE and click Permit Join. Finally, click on Start NWK.
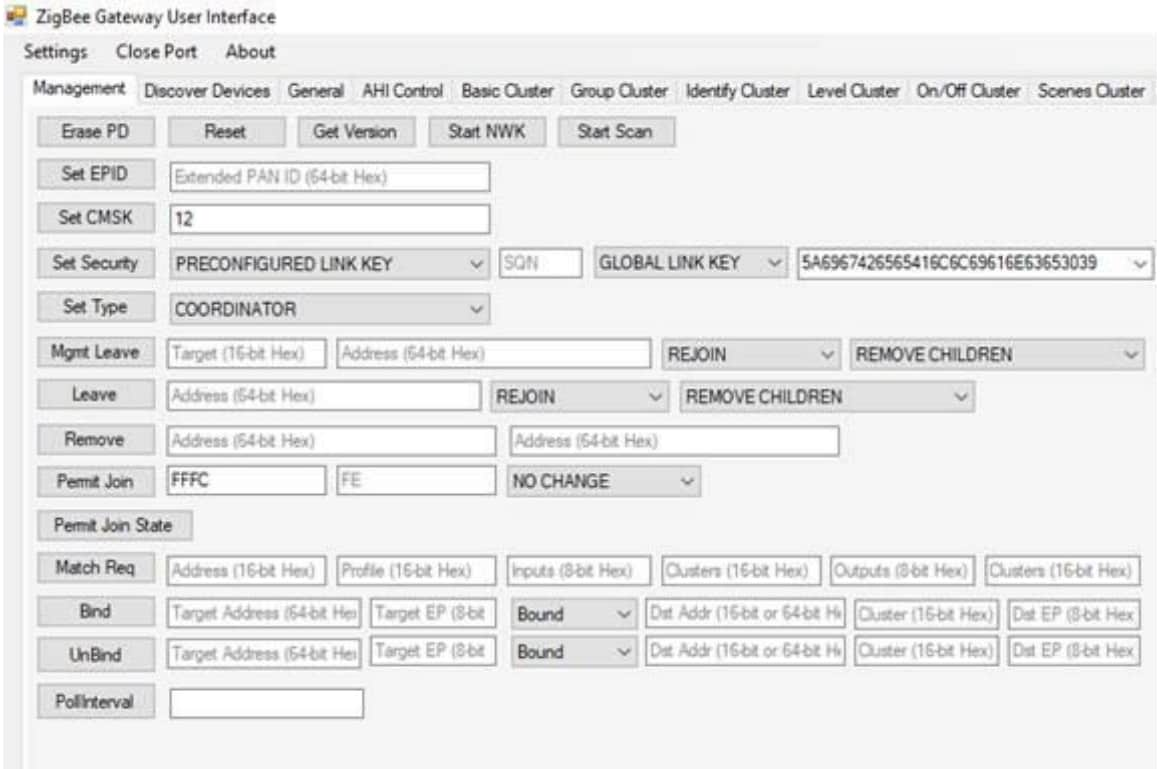
The dual mode device should join the network and show its device information in the “Received Messages” dialogue box. The LD2 on the dual mode device can now be toggled by sending a toggle command to the device from the “On/Off Cluster” page in ZGWUI. Refer to the JN-AN-1247 documentation for further information.
3.7 Download the IoT Toolbox for your smartphone
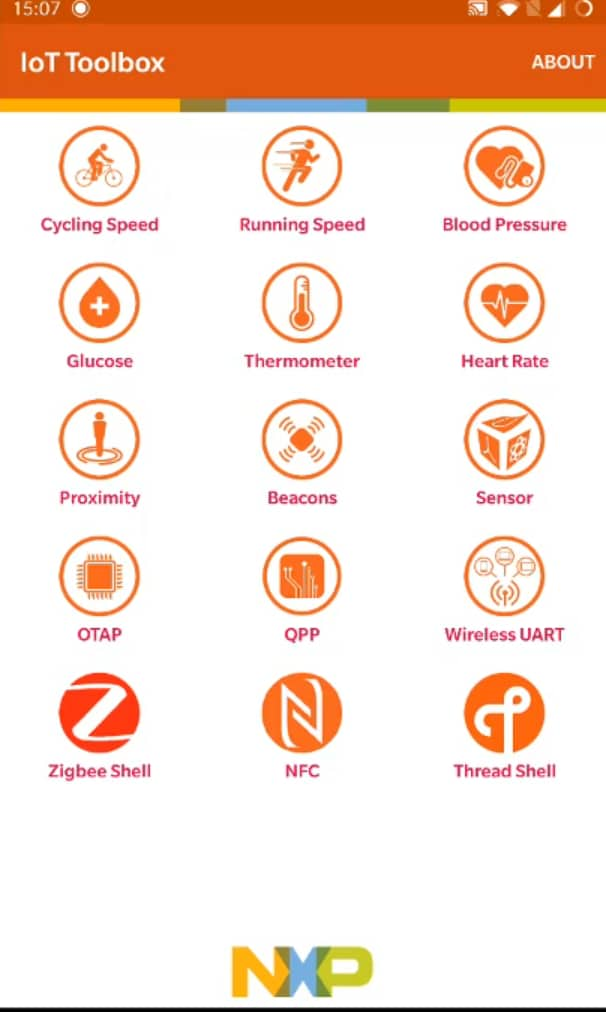
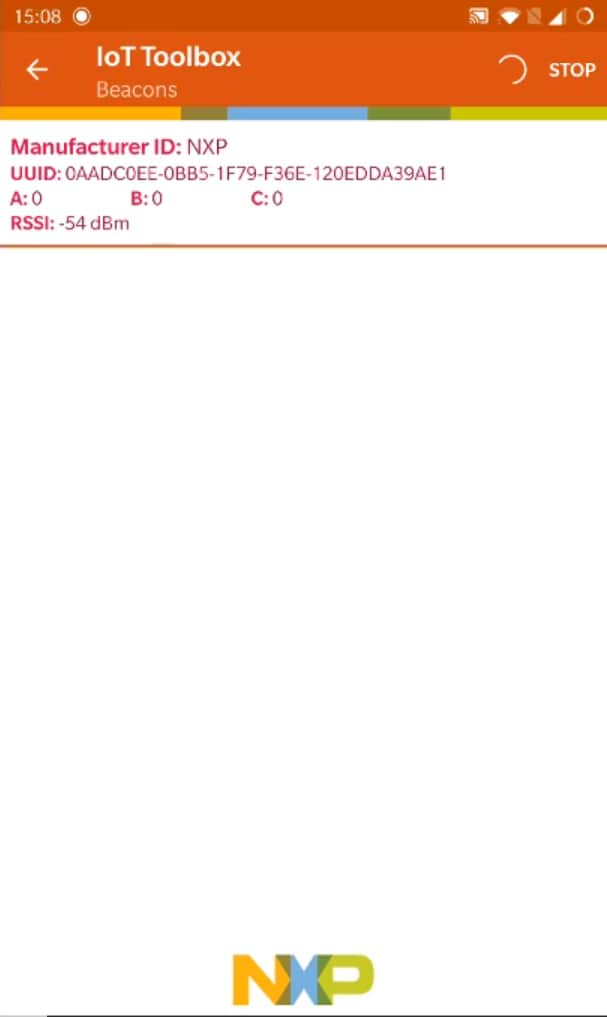
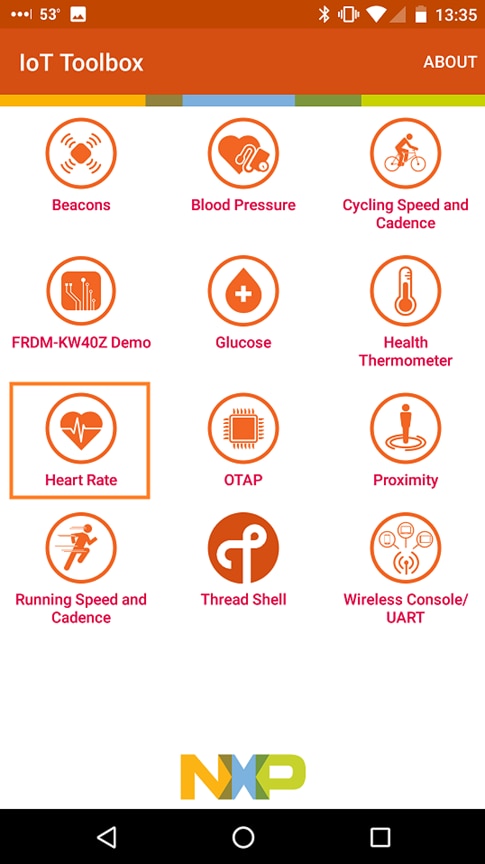
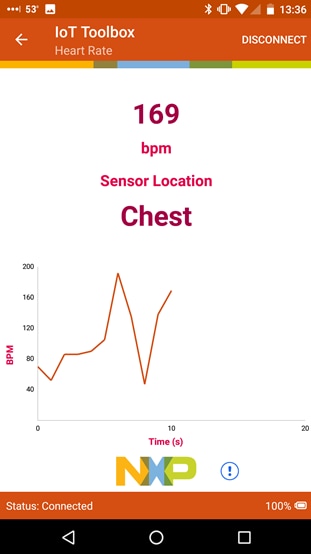
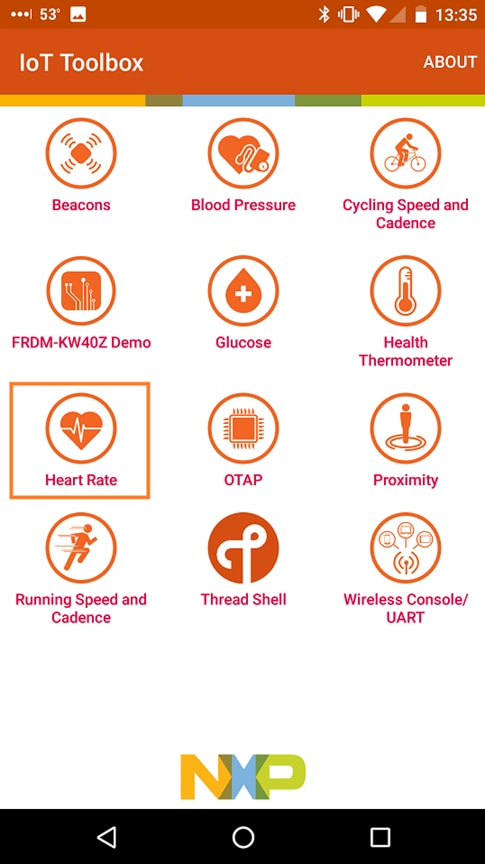
In order to use the Bluetooth Low Energy examples, the NXP IoT Toolbox needs to be installed on a smartphone. This application provides several examples that can be used in conjunction with the connectivity stack to connect your phone to the development board over BLE.
Design Resources
Additional Resources
Learn
NFC
Near Field Communication is a simple, intuitive technology that lets you interact securely with the world around you with a simple touch. Learn more about NXP’s NFC solutions at NFC
Sensors
Explore the world with a full assortment of NXP sensor solutions. From accelerometers, pressure sensors, touch sensors, and many more, NXP has a sensor solution for your project. Find out more at Sensors
Wireless Connectivity Communities
Connect with other engineers and get expert advice on designing with JN MCUs and Wireless Connectivity software. Join the community discussion in the Wireless Connectivity Community
On this page
- 1.1
Attach the USB Cable
- 1.2
Collaterals Package Download
- 1.3
Start your network
- 1.4
Commission the network via NFC
- 1.5
Controlling the Light from the Generic Switch Node
- 2.1
Download MCUXpresso SDK with Connectivity Software
- 2.2
Install Your Toolchain
- 2.3
Install Python 3.8


